Installation
Note: Before beginning the installation, the person performing the installation must have administrative rights on the local computer, or the installation will not be successful. Double-click on the “setup.exe” file from the setup CD. This will begin the installation wizard for the software. The first screen displayed is an introductory screen. Click on the Cancel button to cancel the installation of the XGA Viewer. The cancellation must be confirmed. Click on the Next > button to continue with the installation.
If prerequisites must be installed, the setup.exe program will install them.
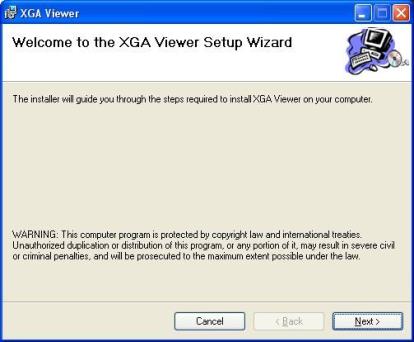
Figure 1 - First installation screen
The second screen will allow the user to select the location for the installation of the software. The default path is “C:\SSi\XGAViewer\”. To change this path, the user can either type in the new path, or click on the Browse… button and select the new path from the dialog box that is displayed. Clicking on the Disk Cost… button will display all of the available hard drives – network and local – and the amount of disk space available on each drive. This will allow the user to determine if there is enough disk space available to install the software to another location. The two options near the bottom right – “Everyone” and “Just Me” will allow the user the option of installing the software for the user that is currently logged on to the target computer (“Just Me”) or to install the software so that anyone logged on to the target computer can access the software (“Everyone”). The < Back button will display the first screen again, and the Next > button will continue with the installation.
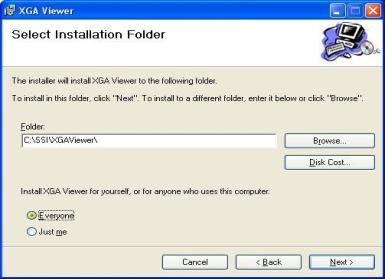
Figure 2 - Installation selection screen
The third screen will allow the user to begin the installation. Clicking on the < Back button will display the second screen, and clicking on the Next > button will begin the installation of the XGA Viewer software.
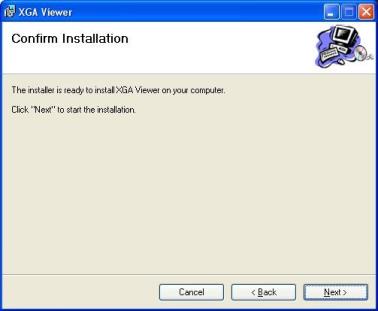
Figure 3 - Installation confirmation screen
The next screen will display the progress of the installation. Once the installation has completed, the final screen will be displayed.
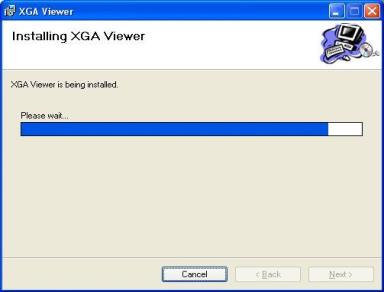
Figure 4 - Installation progress screen
Once the final screen is displayed, the XGA Viewer software has been installed and can be run at any time. Click on the Close button to close out the installation screen.
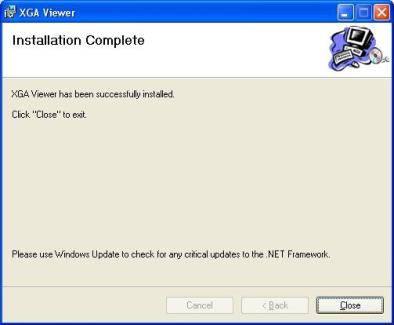
Figure 5 - Installation completion screen