Getting Started
Install Touch Screen Manager from the provided CD. Run Touch Screen Manager from the provided shortcut. Touch Screen Manager will open to this screen:
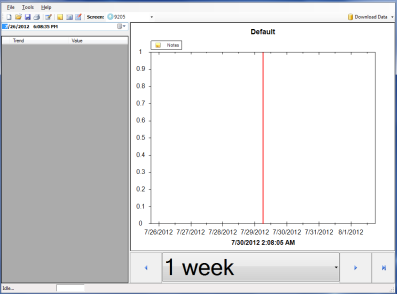
Figure 1 - First screen that will appear in TS Manager
To interface with a screen, select Tools à Communications à Setup.
|
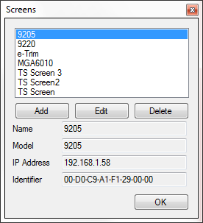
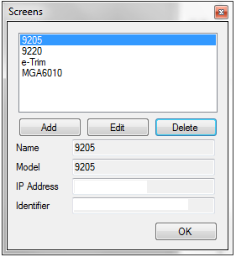
Figure 2 - Screen selection menu |
From this screen, select Add.
|
|
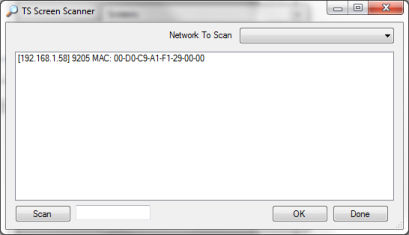
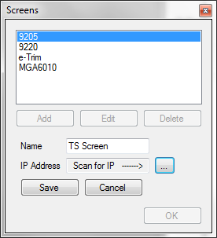
Figure 3 - Screen selection menu (scan IP function) |
Assign the screen a name by typing it in the box next to Name (use furnace name for unique identification). Click the
|
|
Select the IP address that corresponds to the screen and press OK. This will return the display to the previous screen, and the IP Address box should show the selected address. Press Save to return to the following screen with the IP address and Identifier assigned.
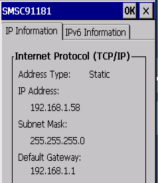
If you need to identify the IP address of the screen (such as a situation where you have two or more similar screens on the network), there is often more than one way to do it, depending on the software running on the Touch Screen. One way to check the IP address on most Touch Screens is first to shut down the Touch Screen software that you are running, and then to double tap on the network icon (
For specific instructions on how to identify the IP address of the screen within the Touch Screen software or how to shut down the Touch Screen software that is running, refer to the manual for that specific product.
Figure 4 - Network Settings display on Touch Screen device
Figure 5 - Selecting a screen by IP address
|
|
|
Figure 6 - Screen selection menu (populated with additional screens) |
Press OK to interface with the selected screen. If a screen that is already added is assigned a new IP address, select that screen and press Edit. Then, follow the same procedure for setting up a new screen (scan for IP address and save).
|
 button to scan the network for IP Addresses.
 ) in the system tray A window will appear showing network settings, including the IP address.