Sessions
The instrument is logging data any time that it is powered on. Data of interest can be viewed by entering its date and time. Users can apply custom tags to sections of data, allowing for easy identification of viewing and recalling data. These tags can include the name of the operator and the name of the equipment that is being measured.
The instrument has default values for each of these variables. However, it is highly recommended that the selections be modified so that data may be tagged in a way that is easily recognized. For more information on how to set up these selections with custom entries, see the “Tools – Database Maintenance” section of this manual.

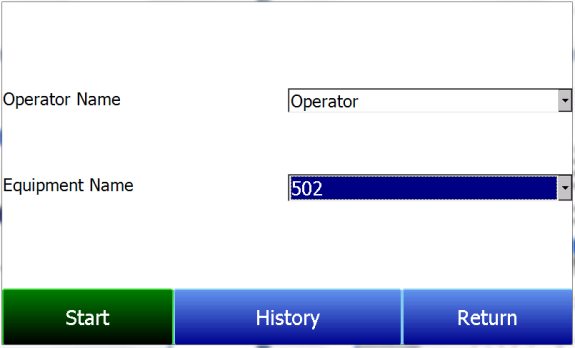
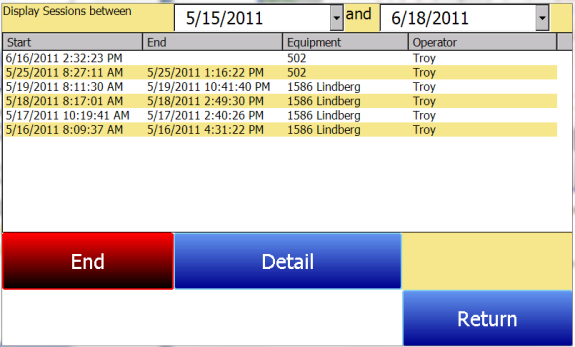
Using the pull-down menus, select the Operator Name and Equipment Name from the list of available selections. Then begin the session by pressing Start. After confirming the beginning of a session, a sessions summary screen will be displayed. To end the session, press the red End button.

This screen will identify sessions within the date range specified at the top of the screen. As a default, sessions from the past 24 hours are shown. By expanding the data range, additional sessions can be seen. These sessions are sorted with the newest entry at the top, but they can be sorted by End Time, Equipment Name, or Operator Name by touching the header of each column.

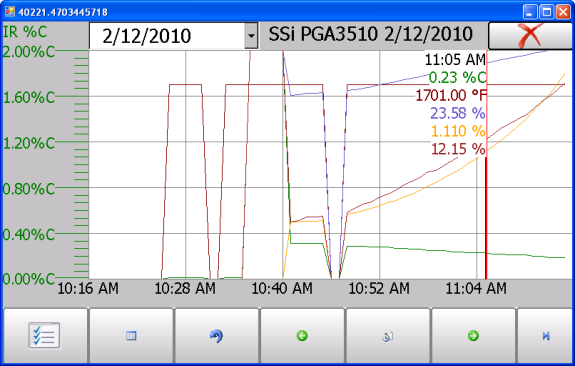
To see the details of any session, highlight it by touching it, and then press Detail. This will display a graphical representation of the data from the selected session.
For more information on navigating the Chart Screen see the “Chart” section of this manual. To leave the Chart view, press the red X in the upper right hand corner of the screen.