Remote Trend Web Page
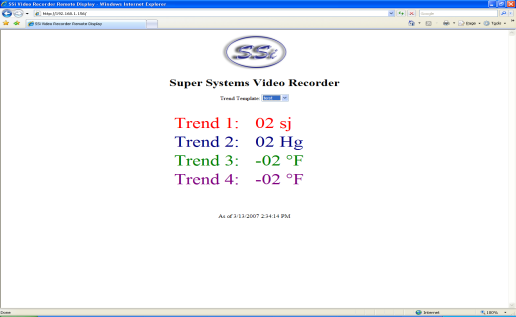
Each touch screen will also contain a simple web page that will display the trend information for all of the templates. However, before anyone can view this web page, the web server may need to be configured. Open a web browser such as Internet Explorer or Mozilla Firefox, and enter the following into the address bar: http://< Touch Screen IP > where < Touch Screen IP > is the IP address of the touch screen (not the Digital recorder box). This will display the web page.
The templates are listed in the drop-down list next to “Trend Template:”. Once a template has been selected, the trends will be displayed underneath. The current date and time of the touch screen will be displayed beneath the trends.
If the above web page is not displayed, then the web server on the touch screen will need to be configured. First, enter the following address into a web browser’s address bar:
http://< Touch Screen IP >/remoteadmin where < Touch Screen IP > is the IP address of the touch screen.
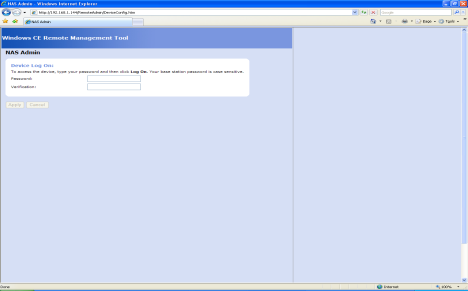
This will display the remote administration page for the touch screen
Enter a password in the “Password:” and “Verification:” fields and then click on the Apply button. Clicking on the Cancel button will clear out the 2 fields. Note – This operation will only have to be performed once. This will set up the administration password for the web page. The user name will be “admin”. The web server will reset and then it will load the same web page again.
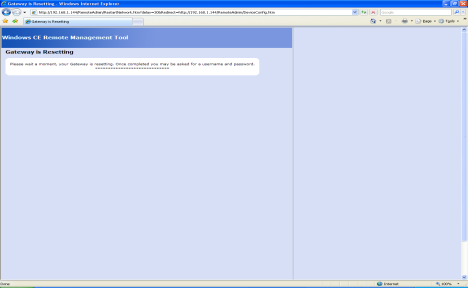
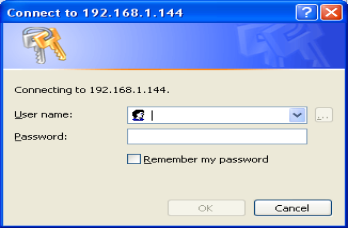
When the page reloads, you will be prompted for the username and password. If you are asked for a domain name, leave the domain name blank. Remember – the user name is “admin”.
Once you are logged in, you will be asked to assign a device name. Use the serial number located on the back of the touch screen – i.e. HMB0000000.
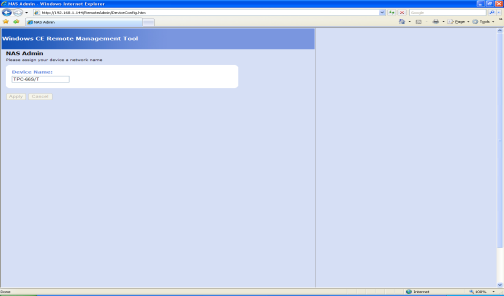
Clicking on the Cancel button will reset the device name. Once the new device name has been entered, click on the Apply button.
You will see the device name listed.
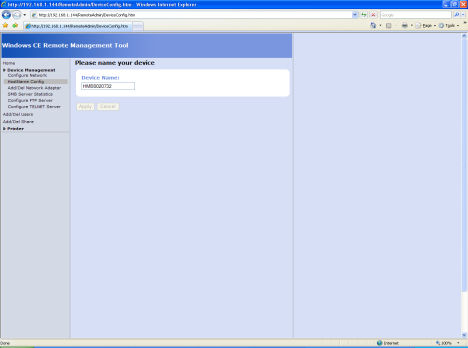
We now have to access the web administration page.
Type the following into the web browser’s address bar:
http://< Touch Screen IP >/webadmin where < Touch Screen IP > is the IP address of the touch screen. This will display the Web Server Configuration page.
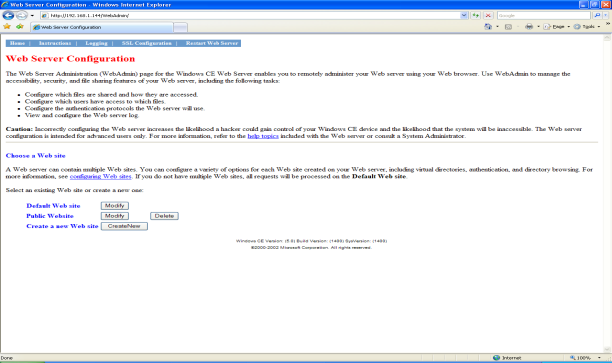
Click on the Modify button located next to the “Default Web site” text.
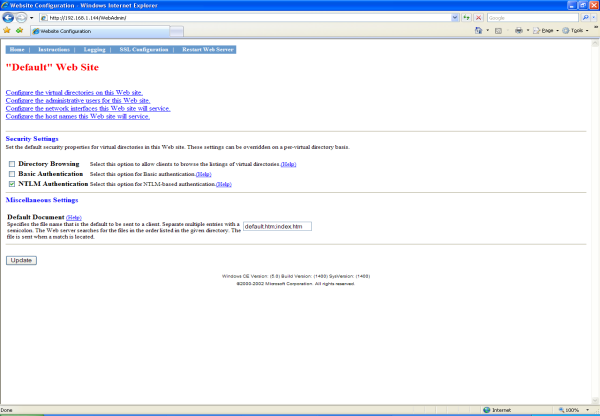
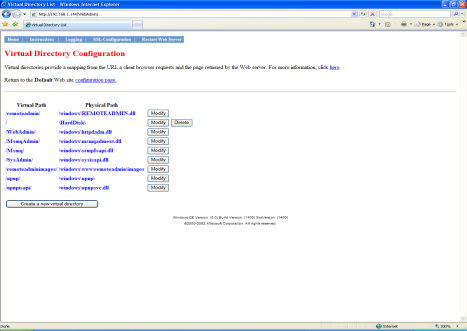
Immediately under the “Default” Web Site title, there will be a series of links. Click on the link titled “Configure the virtual directories on this web site”.
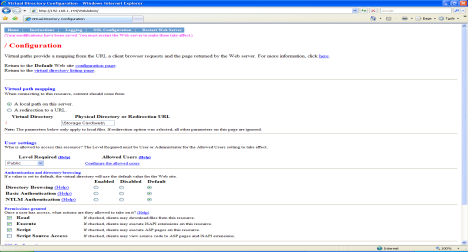
The virtual path that you want to modify is the base path of the web server, which is just a slash ( / ). The default physical path for the base path is “\HardDisk\”. Click on the Modify button for the base path of the web server.
In the text box which reads “\HardDisk\” under “Physical Directory or Redirection URL” in the “Virtual path mapping” section, replace “\HardDisk\” with “\Storage Card\web\”. Note – Storage Card must be typed as two words. Note: If the screen is a 12” screen, then the directory will be “\HardDisk\web”. Scroll down to the bottom of the page and click on the Update button.
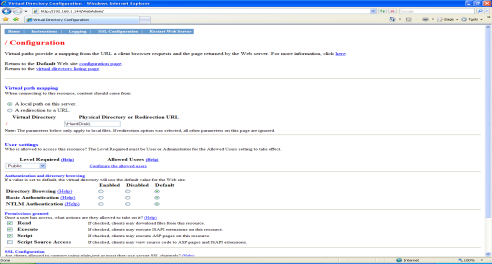
You will see some text at the top of the screen letting you know that your changes have been saved. You will now need to restart the web server. Click on the Restart Web Server button from the list of menu buttons along the top left of the screen (it will be the last button). If all of the necessary files are already located on the screen, you should now be able to view the trend page. Enter the following into the address bar of a web browser: http://< Touch Screen IP > where < Touch Screen IP > is the IP address of the touch screen. Note – you may need to give the web server a few minutes to restart before viewing the trend page.
