SDS à Manage Survey Records

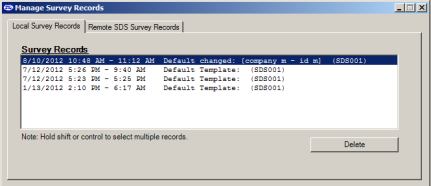
Figure 91 - Manage Survey Records – Local Survey Records Tab
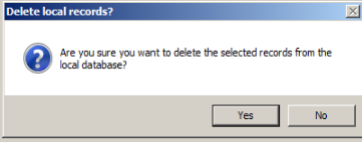
The Manage Survey Records screen will allow the operator to delete survey records from the survey database file either locally on the computer or remotely on the SDS data logger. The “Local Survey Records” tab (Figure 91 - Manage Survey Records – Local Survey Records Tab) will work with survey records saved locally to the computer. To select multiple sequential records, hold down the Shift key and click on the desired survey records. To select non-sequential records, hold down the Ctrl key and click on the desired survey records. The operator will have to confirm the deletion by clicking on the “Yes” button on the message box (Figure 92 - Confirm deletion of local records).

Figure 92 - Confirm deletion of local records

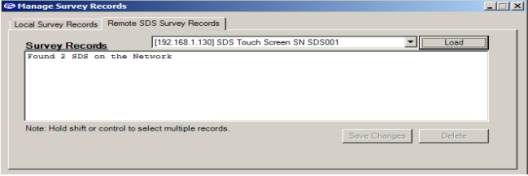
Figure 93 - Remote SDS Survey Records Tab
The “Remote SDS Survey Records” tab (Figure 93 - Remote SDS Survey Records Tab) will allow the operator to delete survey records directly from the SDS data logger. The drop-down list at the top of the screen will list all of the SDS data loggers found on the network.
Note: The drop-down list may take a few moments to search the network for SDS data loggers.
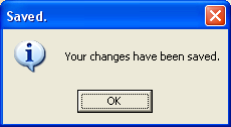
Note: Currently, the drop-down list will also be populated with Video Recorder data loggers. Please use caution when selecting a data logger from the list; deleting data from a Video Recorder could produce undesirable consequences. When the operator has selected the correct data logger, he/she can click on the “Load” button to load the survey data. To select multiple sequential records, hold down the Shift key and click on the desired records. To select multiple non-sequential records, hold down the Ctrl key and click on the desired records. Clicking on the “Delete” button will remove the survey records from the list. Note – The survey records will be removed from the list, but not actually deleted from the SDS data logger until the “Save Changes” button has been clicked. If one or more survey record is accidentally deleted, click on the “X” in the top right of the screen to close the screen down, and start over. Clicking on the “Save Changes” button will save the changes back to the SDS data logger. No confirmation is needed for this action. Once the changes have been saved, a message box will be displayed (Figure 94 - Changes Saved message box).
