Generating a Report
Click on the File > New menu option to bring up the Report dialog. Reports use logged data and the user specified interval in the report. The report template that is selected will form the final report view with all of the template data, survey data, and additional report parameters that are entered. All reports can be saved and displayed at a later date.
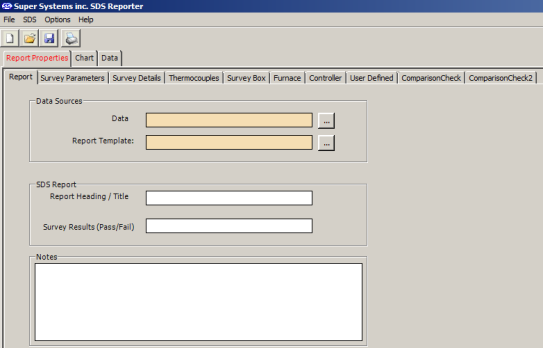
Report Window
After bringing up the Report window, you must select a data source. To do this, click the 
 button next to the Data field. A screen similar to the one below will appear.
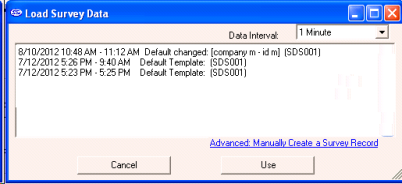
Load Survey Data Window
Select the survey data source on which you want to base the report that SDSReporter will generate. Click “Use”. The Data field will be populated with the data source you selected.
Next, click the  next to the Report Template field. An Open window will appear similar to the one in the figure below.

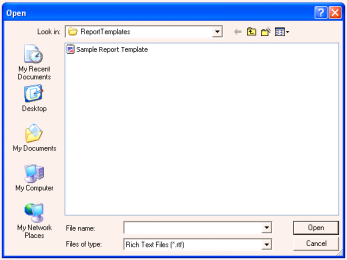
Report Template Open Window
Select the Sample Report Template. The Data and Report Template fields will now be populated, as shown in the figure below.
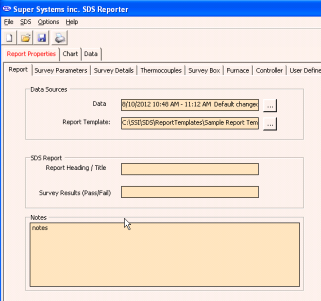
Report Properties > Report Tab with Data and
Report Template Fields Populated
Once the Data and Report Template fields are populated with accurate data, SDS Reporter performs a number of reporting functions. Additional tabs provide additional functionality and options. These are covered in detail in the SDS Reporter section. Two of the most commonly used functions are printing a report and saving report files.
Print a report by selecting File > Print > Print Report, as shown below.
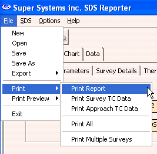
Print Report option
Save a report for future reference by selecting File > Save As, entering a file name, and clicking “Save”. All report files are saved with the default file extension .sdsreport.
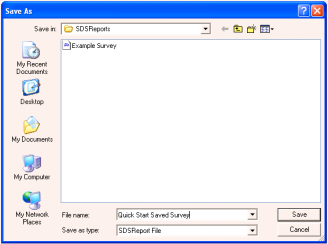
Report “Save As” Window